Wednesday, September 19, 2012

August Hip 2B Square Hip Kit Cards


HELLO FRIEND

I was at Walmart last week and in their little scrap booking aisle, there were some dollar bins and they had these cute little tag cards.  I really like the little Polaroids in the Dear Lizzie paper and layered a couple of them, added two of the super cute Pebbles Masking Tape stickers and a couple of chipboard butterflies from the Woodland Park chipboard stickers.  I also inked the edges with some teal ink.


THANKS

Here is another card with a Polaroid wrapped with the ribbon in the kit.  I also added some of the masking tape stickers.  The one that is in the middle of the card is cut in half to make it look like a much bigger sticker.  I also added a daisy flower.  I made this daisy flower on my Big and Little layout.  I really like the pastel colors in this card.


HAPPY BIRTHDAY

This card I used a 3" circle punch and then a Spellbinder die for the lacy circle behind it.  I used my border punch that has that same lacy pattern.  I added the chipboard flower over the flowers on the Woodland Park sticker to add some dimension.  


SMILE

This card is very simple.  The two patterned papers and used the border sticker from the Echo Park sticker sheet.  I tied both butterflies with some twine that was in a previous Hip Kit.  

 
THANK YOU

This card was an experiment.  I used a similar technique that Kimberly used to make butterfly embellishments a couple of months ago.  When I put my first strips together, I ran them through my Cuttlebug with an embossing folder, and then sanded the embossed part to make them pop out.  Then I cut them apart again and pieced them back together in an opposite pattern.  I really like the quilted look.
Then I added one of the Pebbles Masking Tape sentiment stickers and used some twine from a previous Hip Kit.


Thanks for stopping by today.

Tuesday, September 18, 2012

Another August Hip 2B Square Hit Kit Layout

I've had my Disneyland and Lego Land pictures from July bouncing around in my head and my good friend Amy, who also went to Disney Land and Lego Land in July, has been begging me to use the kits to do these layouts so she could use her kits and copy my layouts.  So here you go Amy!

The last Disney layouts I did were your traditional Disney layouts using Mickey Black, Yellow and Red with all the traditional Disney embellishments.  This time around I'm going to try to use the kit club.  I am also not going to scrap every picture this time.  I will be incorporating some individual photo sleeves into my album. (ie: project life type photo sleeves)

I knew that I wanted to do a two page layout with LOTS and LOTS of pics.  I managed to get 15 pictures on this layout.  There is one 4x6, two 4x3's and 12 2x3's.  The aqua paper, ribbon and letters and the red embellishments went perfectly with my pictures.  Lightning McQueen is red and a lot of the signage and window trim at Cars Land were aqua. 

I printed out all of my pictures separately, however, in rethinking it, I would have probably had an easier time had I printed them in a collage.  You can't tell it from here, but I popped up one picture on each page.  You can see them better from the detail pictures below.  Instead of using pop dots to lift the pictures, I used some of the scraps from the Woodland Park chipboard.  Instead of throwing away the leftovers, I have been using them for popping things off of my pages.


This is one of the photos that is popped up.  It just adds a slight dimension to the cluster of photos.

The Amy Tangerine Sketchbook Delights (Accordion Flower) had a center that said Hello.  I took that off and added one of the Flair Buttons.  The washi tape is from an earlier kit and matches this kit perfectly.  Also if you look at the photo with the firetruck you will notice that it is the other photo that is popped up.


July Hip 2B Square Cards


I just love the denim backed floral patterend paper from Simple Stories.  The flowers just looked like they needed butterflies floating around them, thus the design for my card began.  I loved the the little 9 to 5 Doo-Dads from October Afternoon had two sides, so if you didn't want the type/sentiment on your card or layout, you could flip it over for the plain side to add your own sentiment.


When I saw the Queen and Co. Rhinestones the first time, I thought that they would be great to make a sun with.  Pairing that idea with clouds, butterflies and the flower buttons made such a cute little card. 


The balloons from the Studio Calico Ephemera Pack were just perfect for a simple Birthday card. 


This card kind of happened by accident.  I knew that I wanted Just a Note in the space under the typewriter but didn't know what to do with it on a card.  I had to clean off my workspace to work on another project and just put all of my July kit in a pile.  When I went back to this card several days later, these papers were stacked exactly like this and I thought it would make a cute card. 

(For the text "Just a Note", I typed the sentiment on my computer and then printed it out and then taped the typewriter embellishment over the top of my printer paper and then printed it again.) 


Wednesday, September 12, 2012

August Hip 2B Square Kit Layouts

LOVE THIS

The August Hip Kit is full of fun patterns both bold and subtle that will work with your favorite summer photos.  I really like the Studio Calico Heyday Collection Crush patterned paper.  There are so many different patterns and colors to draw from.  I cut out a couple sections of that paper to build my color scheme from.  

I did use some of the Smash Washi tape from an earlier kit.  The pink strip is from the Pebbles Sunnyside Tickled Pink barcode strip.  I really like the blue ribbon with the stitching printed on it, it is super cute.


SO CUTE

I'm not sure what it is when I see polka dots and several different colors of polka dots, I just want to combine them all.  There are also a couple of the October Afternoon Woodland Park butterflies that have polka dots to embellish with. 

I just love the American Crafts Neapolitan Dreamy Days patterned paper, the little Polaroids are so cute and make great little embellishments.  (It didn't hurt either, that there was a green polka dotted one!)

I hand cut out some of the flowers from the October Afternoon Gooseberry paper to use along with the chipboard.  I put the flowers in a triangle.  Triangles on a layout help take your eyes from element to element naturally.  If you are having trouble with placing your embellishments, putting them in a triangle is a great trick.

The white bracket paper was cut out with a Lucky 8 punch, but you can hand cut one out if you don't have a punch. 


BIG AND LITTLE

My niece spent the summer with us and this pic was taken on the day before she left to go back to college.  It was so nice to have her with us this summer.  My kids love their cousin so much, even though she is quite a bit older than them. So that is how I got the title Big and Little. 

I stitched across the letters and the stitching covered up the top part of the "T's".  I used my white gel pen to make them into little t's. 


I really like the aqua Everyday Electric patterned paper from Echo Park.  It was a great subtle paper for the background.  The rest of the papers I used reflected the colors of the kids clothing.  For the October Afternoon Minnow Creek paper, I cut out the circle with my Cricut, however, if you don't have a Cricut, you can trace a plate and handcut it out.  


I made these cute little daisy flowers for accent pieces.  I found the instructions somewhere on Pinterest.  Pinterest is a great place to find out how to make embellishments for your layouts.  I just searched on Paper flowers and found these. 


I made a quick little tutorial on how to make them.  They are super easy, just a little time consuming and turn out so adorable. My punch for the biggest petals was a 1.5" punch and the other one is a 1" punch. 

Thanks for stopping by today.  I hope you have seen something that inspires you to start scrapping today.


Another July Hip Kit Layout

4TH OF JULY

This layout is a companion piece to my All American Princess layout.  I used the same colors and layering.  I really like how the yellow polka dot patterned paper from My Minds Eye really make the photo pop off of the page.

Wednesday, August 15, 2012

July Hip 2B Square Layouts

Here are my layouts with the new FABULOUS July Hip Kit.  I don't know how she does it, but Kimberly has put together another great kit.  I just love how she mixes different manufacturers and the color combinations match perfectly.  This kit is full of wonderful embellishments and fun themes that are perfect for your summer layouts.

ALL AMERICAN PRINCESS
This kit is perfect for your 4th of July photos that you just took a couple of weeks ago.  The Simple Stories denim cardstock is so fun combined with Red, Whites and Yellows.  I knew as soon as I saw the paper, that this picture of my daughter from this 4th was perfect. 


I really love these little Flair buttons that Kimberly found on Etsy.  They are so cute.  I like the dimension they add to my layout.


I used one of the My Mind's Eye pins from last months kit.  It matched perfectly with my hearts and star theme.  Since the crown Sami is wearing has a star on it, I carried that theme on the rest of the page adding the little wood stars and then punched out some cardstock stars. I also used some of the twine from last months kit as I felt the red would work better with my layout as opposed to the blue twine in this months kit. 

I love how the Hip Kits blend so well from month to month too.


For the little wood stars, I used some Glossy Accents to adhere them to the page.  Glossy Accents makes a really good adhesive as well as adding gloss to your embellishments.


CAM AND SAM

I loved the little silhouettes in the Studio Calico Ephemera pack.  They are perfect for those sibling pages.  I used the colors in my kiddos shirts and the silhouettes to pick the color palette for this page.


COOL IN THE POOL

This was a really fun sketch.  All of the little circles were perfect for my pool pics.  I cut the circles out of all the different polka dot papers and the Studio Calico Fabrips to mimic splashes of water.  For three of the smaller polka dot circles, I used some Glossy Accents to make them shiny.  I also used some white on white circles with pop dots to create a embossed look without embossing.


I also kept the letters white, to give dimension without adding extra color. I really like the clean look of the page.

 
SUMMER GIRL
 
There are several stickers with the sunshine and happiness theme and two bingo cards from Simple Stories Summer Fresh cardstock and sticker sheet that worked perfectly with my cute summer pic of my daughter.  I also took the little sun sticker and added to a banner.  I love the little iridescent and cardstock butterflies in the Studio Calico Ephemera Pack.  They help add a little shimmer and depth.   


June Hip 2B Square Layouts and Cards

LAST DAY OF FIRST GRADE

Once again Kimberly has put together another FABULOUS kit.  I love all the subtle colors in this one.  This kit has tons of boy stuff which I love. (even though I do have a girl too.!)  These papers were PERFECT for my son's last day of school pics.  He happened to be wearing a teal shirt which matches the papers and die cut stickers.  There were also some school themed die cut stickers and the Studio Calico Numerical Patterned paper was a perfect fit for this page.

This month's sketch is really cool.  It can be interpreted so many different ways.  I pretty much stayed to the sketch, just varying the embellishments a little. 


I added several layers of the light blue cardstock and the Jilli Bean Macho Nacho blue polka dot patterned paper behind the Echo Park Die Cut Stickers to make them stand out a little more. 


I also added some machine stitching and some splats of Mr. Huey mist from an earlier Hip Kit.


I hope I have inspired you to take this sketch and make a wonderful layout.  Happy Scrapping!

GAME DAY

I love the reds, white and blues that are also in this kit along with the baseball themed die cut sticker and border strips from Echo Park.  They were perfect for my baseball pics of when we went to Little League Day with the Mariners.  These papers would also be great for a 4th of July layout. 

I love those little Echo Park film strip die cut stickers also.  Just print out some 1.5" square pics and they fit perfectly.

I really like the little envelopes Kimberly included this month.  They are awesome for sticking in memorabilia such as tickets. 


INSTAFUN
 
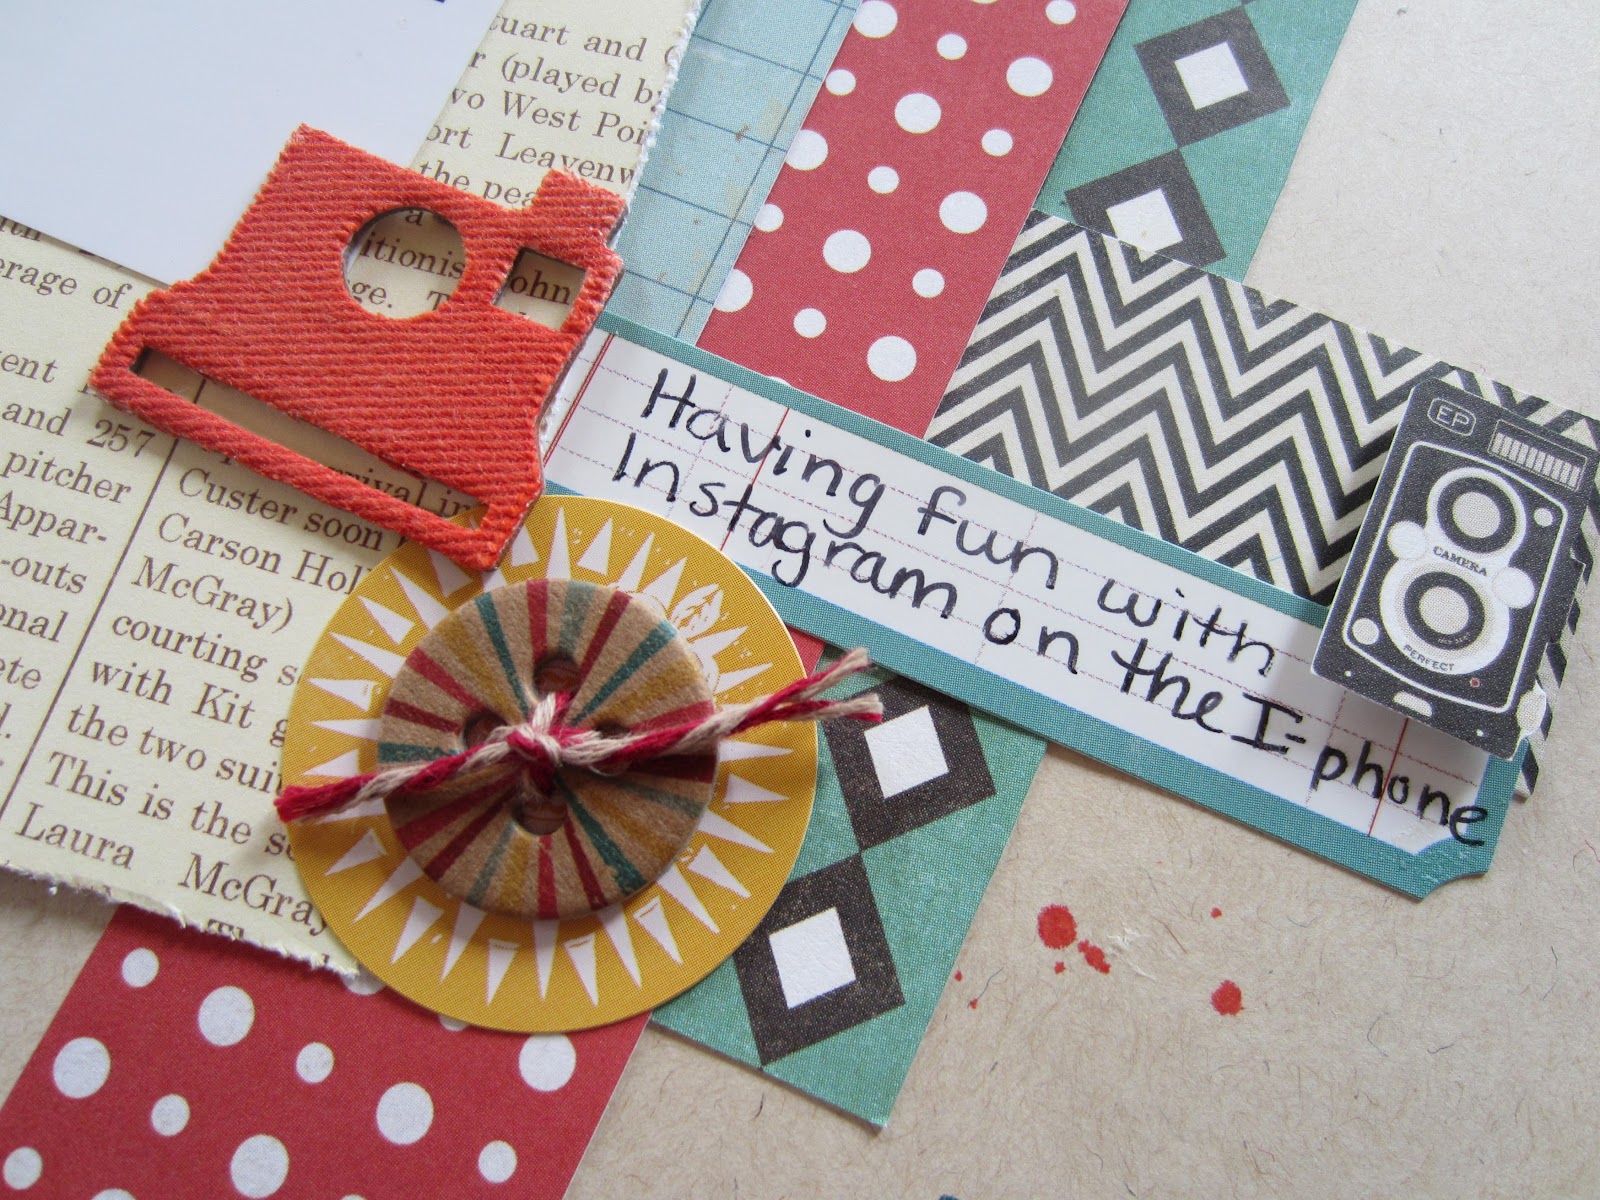
I am just now figuring out the Instagram craze and have started taking some instagram pics with my iPhone. It is fun and the kids like to take pics on my phone too.  This was a fun pic we took trying to get all of us in the pic.  I love that you can pick the Instagram pics to have that 70's Polaroid feel. 


The Echo Park die cut stickers have some really sweet sentiments that are perfect for family pages and the camera die cut was just right for this page.


I used lots of layers of different patterned papers and a couple of tags cut from the Crate Paper Story Teller paper.  I just played with all of the layers and tags and other embellishments until I got the look that I wanted.  I used some black ribbon that I had on hand in my stash.


I used some Mr. Huey mist from a previous Hip Kit to make my little Studio Calico camera red and then splatted the same red, some blue and white mists on the background paper.
 
I THINK YOU ARE AMAZING
 
Most of my layouts are of my kiddos.  The phrases in this kit fit with my photo since I think my kiddos are the bomb and are amazing.  I hand cut out the banners from the Echo Park border paper and then backed the title on white and then green to make it stand out a little more from the page.   


CARDS
 
Here are my cards made with the sketches for the June Cards.  Since I'm not a huge card maker, I love using sketches, they help with the creative process.


It's really cool when you can take a kit that Kimberly has put together and make such a muted color card.  I took all of the brown based patterned papers and inked them with a brown ink.  I had some blank craft paper cards that I used for the base of my card and then added the embellishments that matched the papers.  I took a stamp from my stash to add the sentiment.  If you don't have a stamp, you can always hand write your sentiment.


 I started with the red, white and blue palette and then added the embellishments.  I stuck to the sketch design.  The tickets made me think of a trip, so I dug out a Bon Voyage stamp to finish off the card.